Hey there, ever asked yourself how to give that shabby lamp you keep in a corner a revamp?
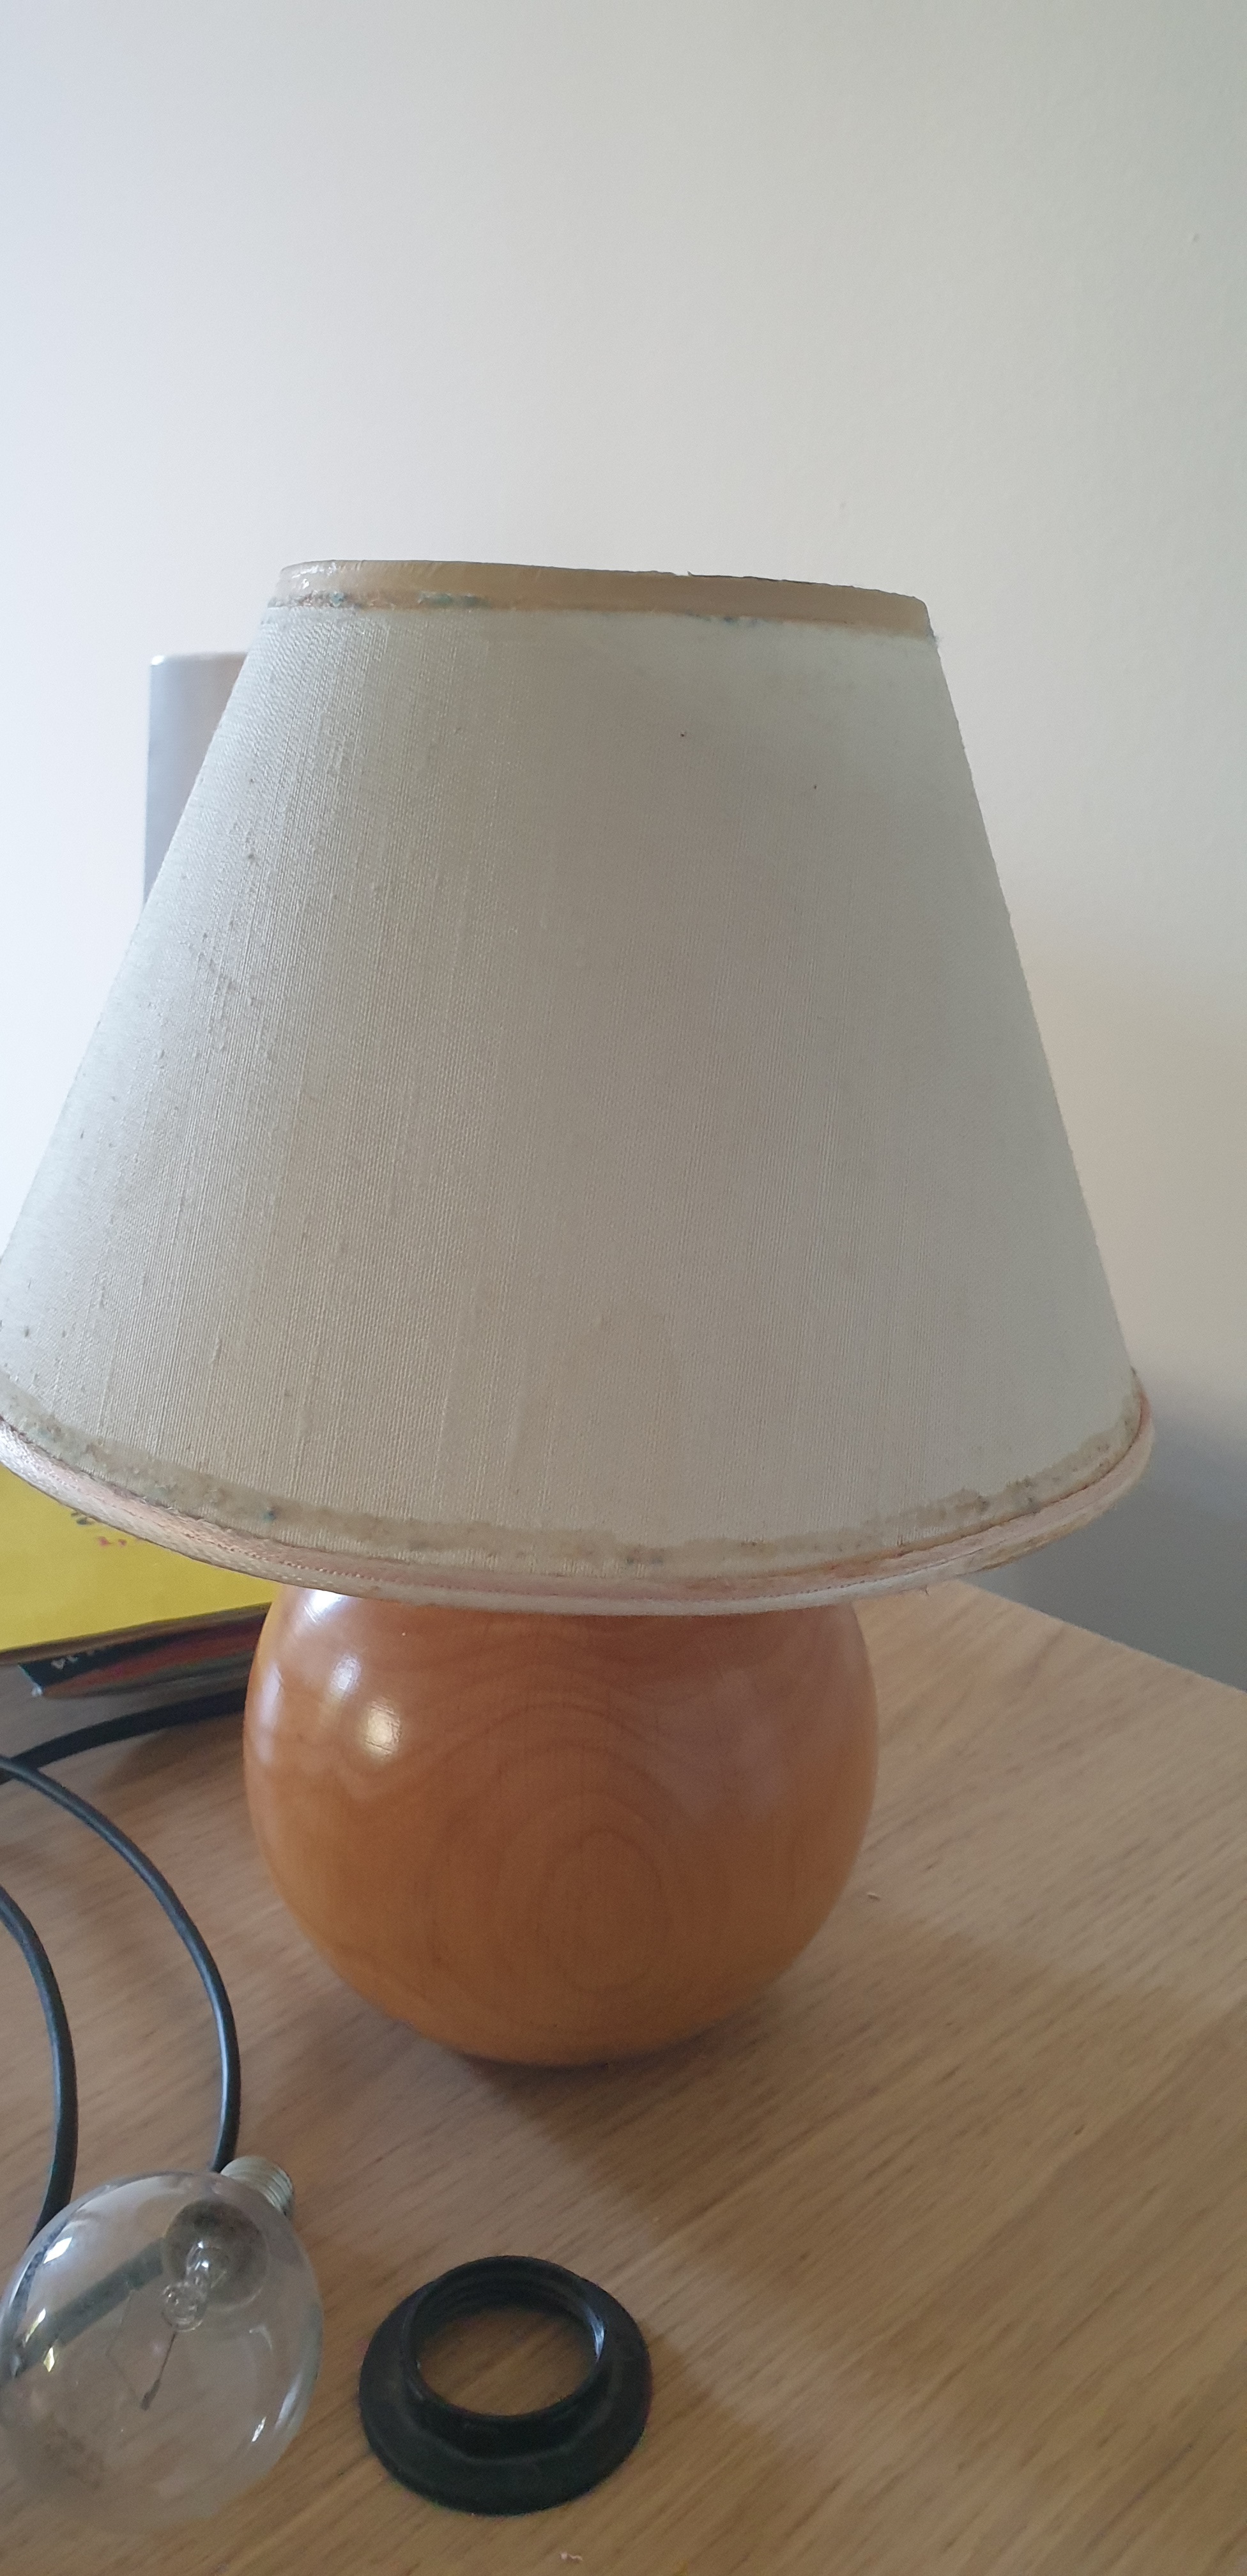
Well I hadn’t until this ugly thing came along! So here are some key lessons that i learnt!
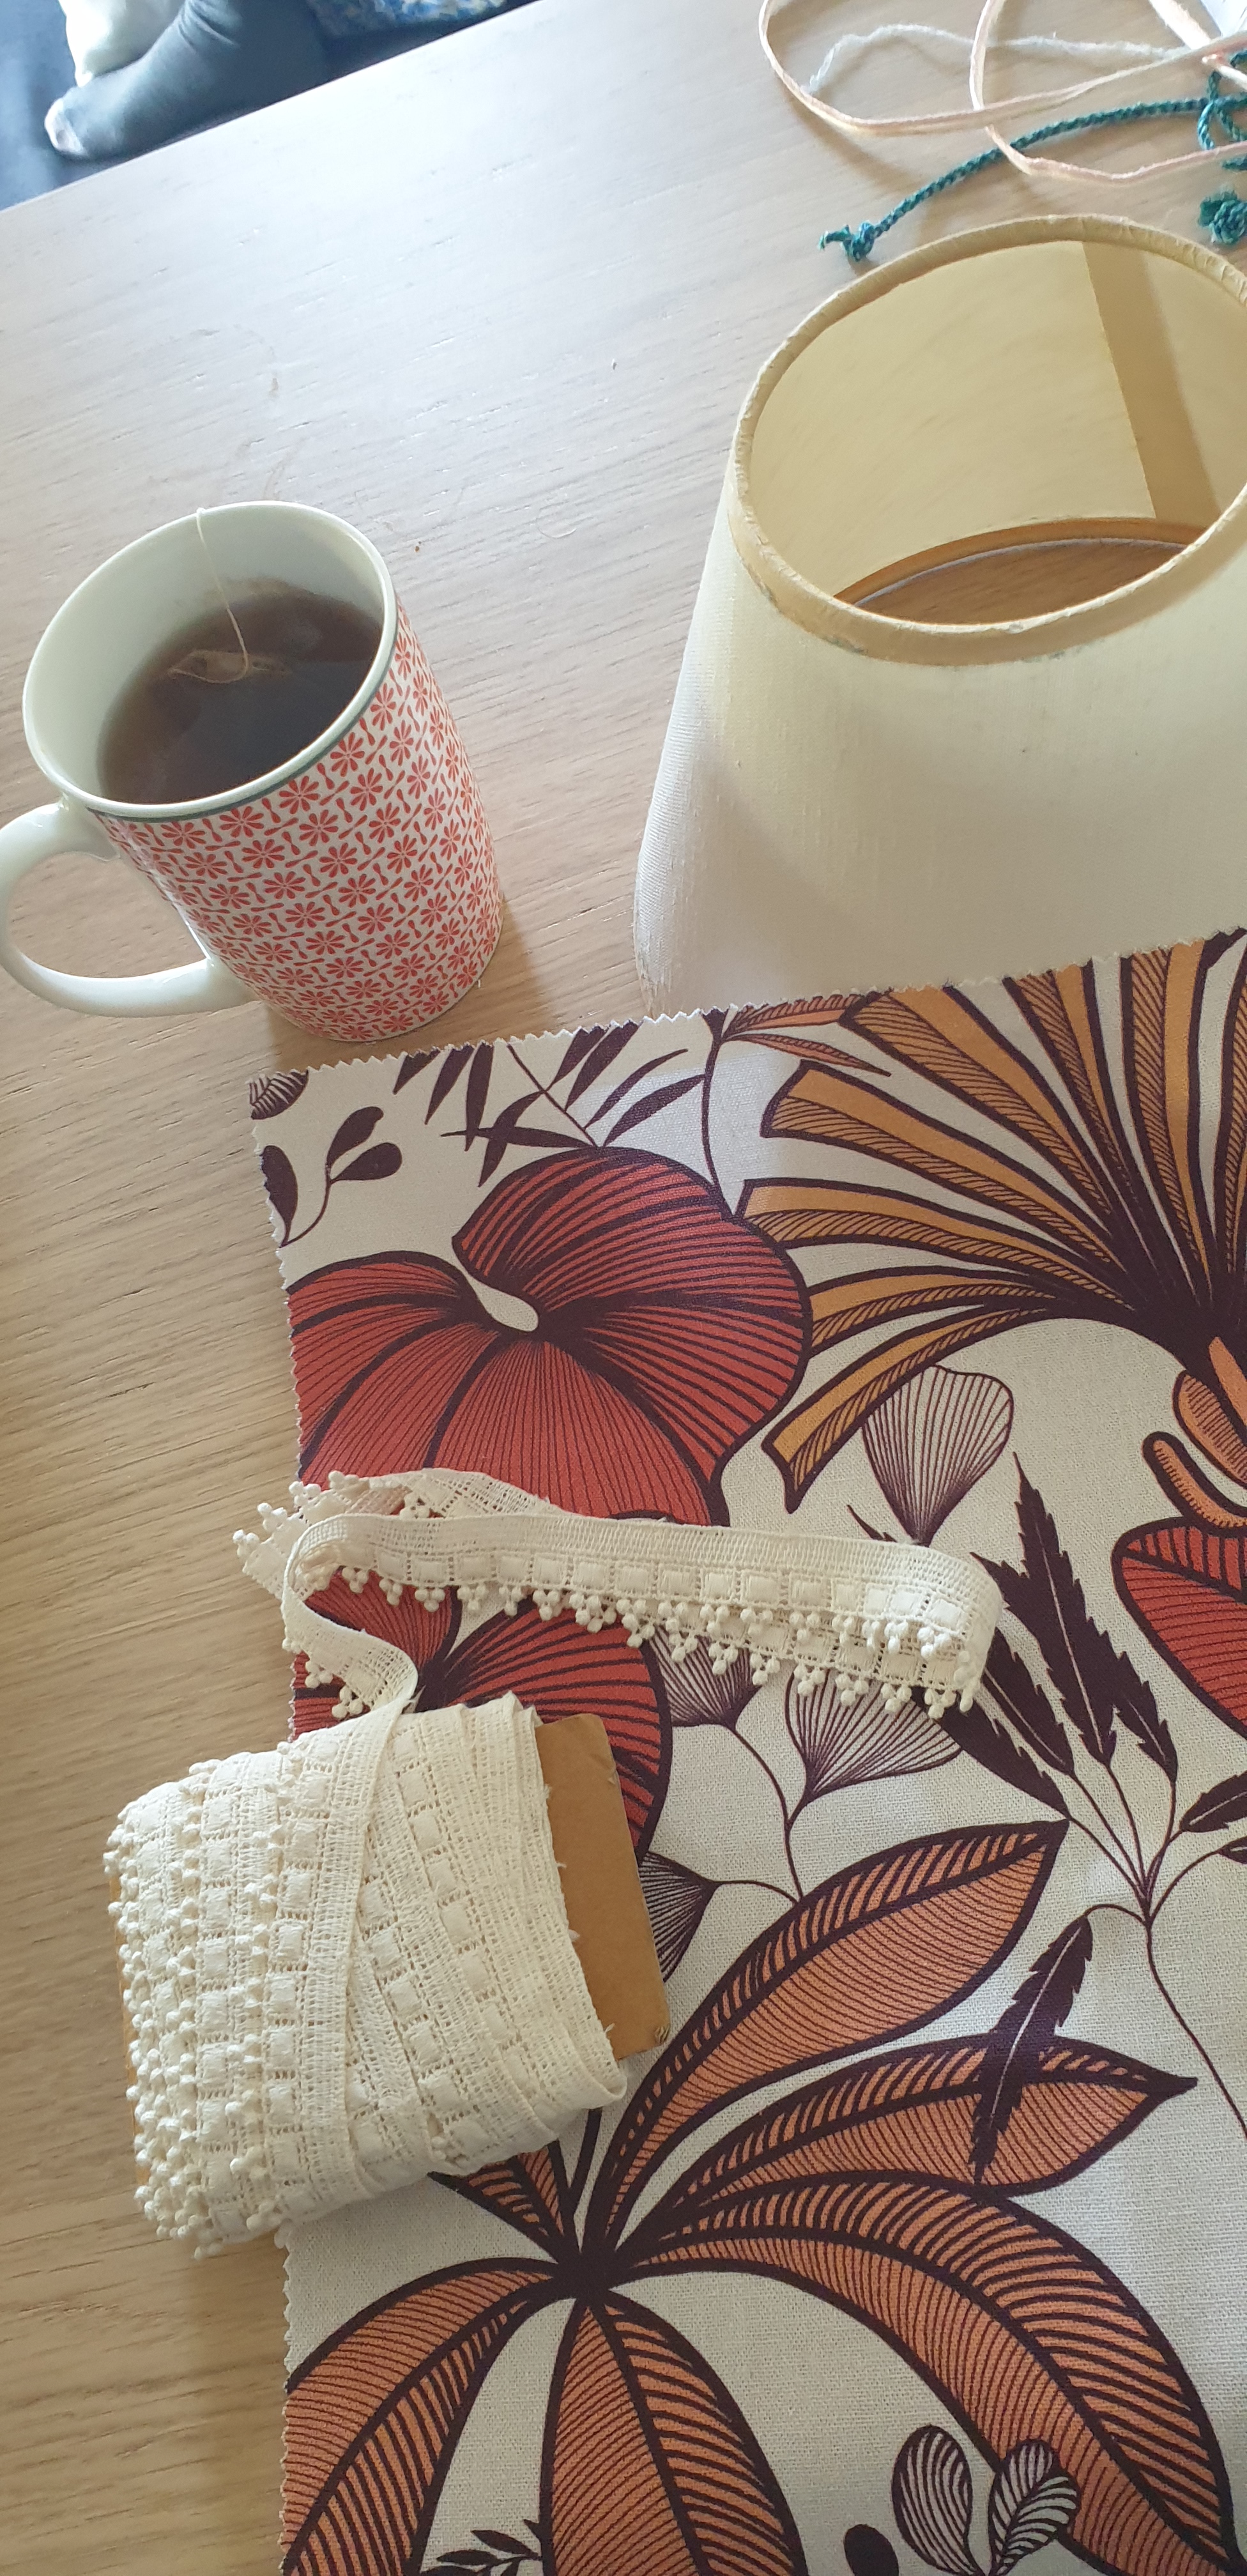
- Make a pattern. I was thinking of winging it but just draping material over it convinced me otherwise. It’s a funny shape, and if your lamp shade is wider at the bottom, even worse!
- Type of glue is important! I used decoupatch glue (that says its ok for fabric and paper) on the cone smoothing it with a paintbrush. I used hot glue only for the edges around the base and top of the come.
- Get led light bulbs, except for the whole energy saving aspect (that is also pretty important), it will prevent the glue to heat and potentially avoid anything getting unstuck.
So, how to make the pattern?


Roll your lamp cone on a piece of tracing paper and trace with a pencil along the edge. It will make a kind of rainbow shape (I’m sure there is a geometrical name for it!).
Then make sure you got it right by putting the paper around the lamp. Then cut out the same shape on your material.
For the glueing, it’s a messy job!
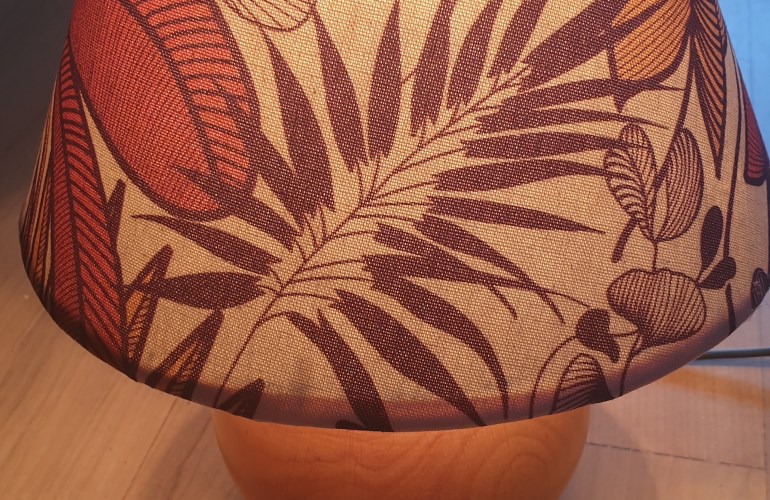
I glued small parts at a time to avoid it drying. Make sure to do constant stripes. With thinner materials you could have the problem of seeing the glue stripes.
I glued the edges with hot glue, and trimmed along the edges, folding the material just over thr metal loop so that the raw edge is well glued out of way and gives a neat finish. Big thanks to Hearts and Sharts for the idea and underling the fact that you see a lamp also from above and having an ugly inside of the lamp…well means you still have an ugly lamp, only now it looks DIY!
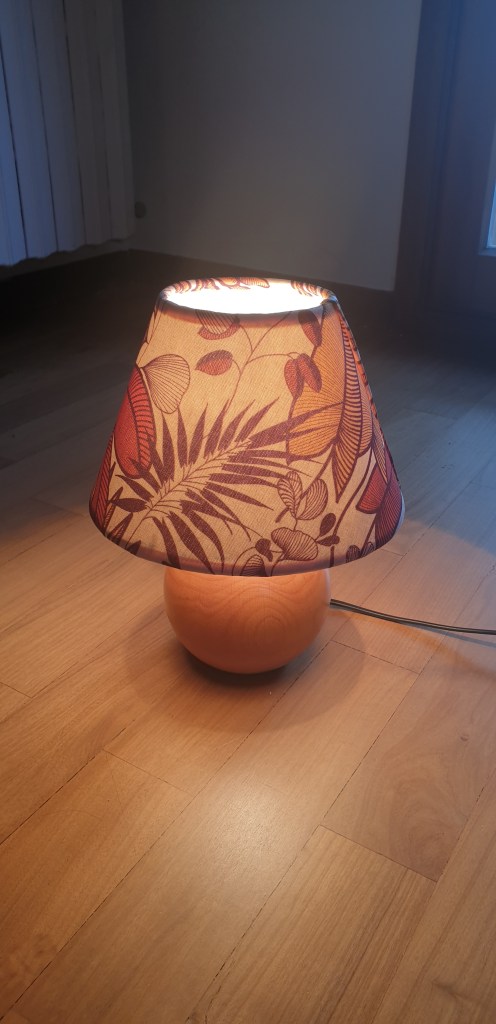
Anyway pretty proud of the result and boyfriend says it looks like a woodland mushroom!
And voilà !